
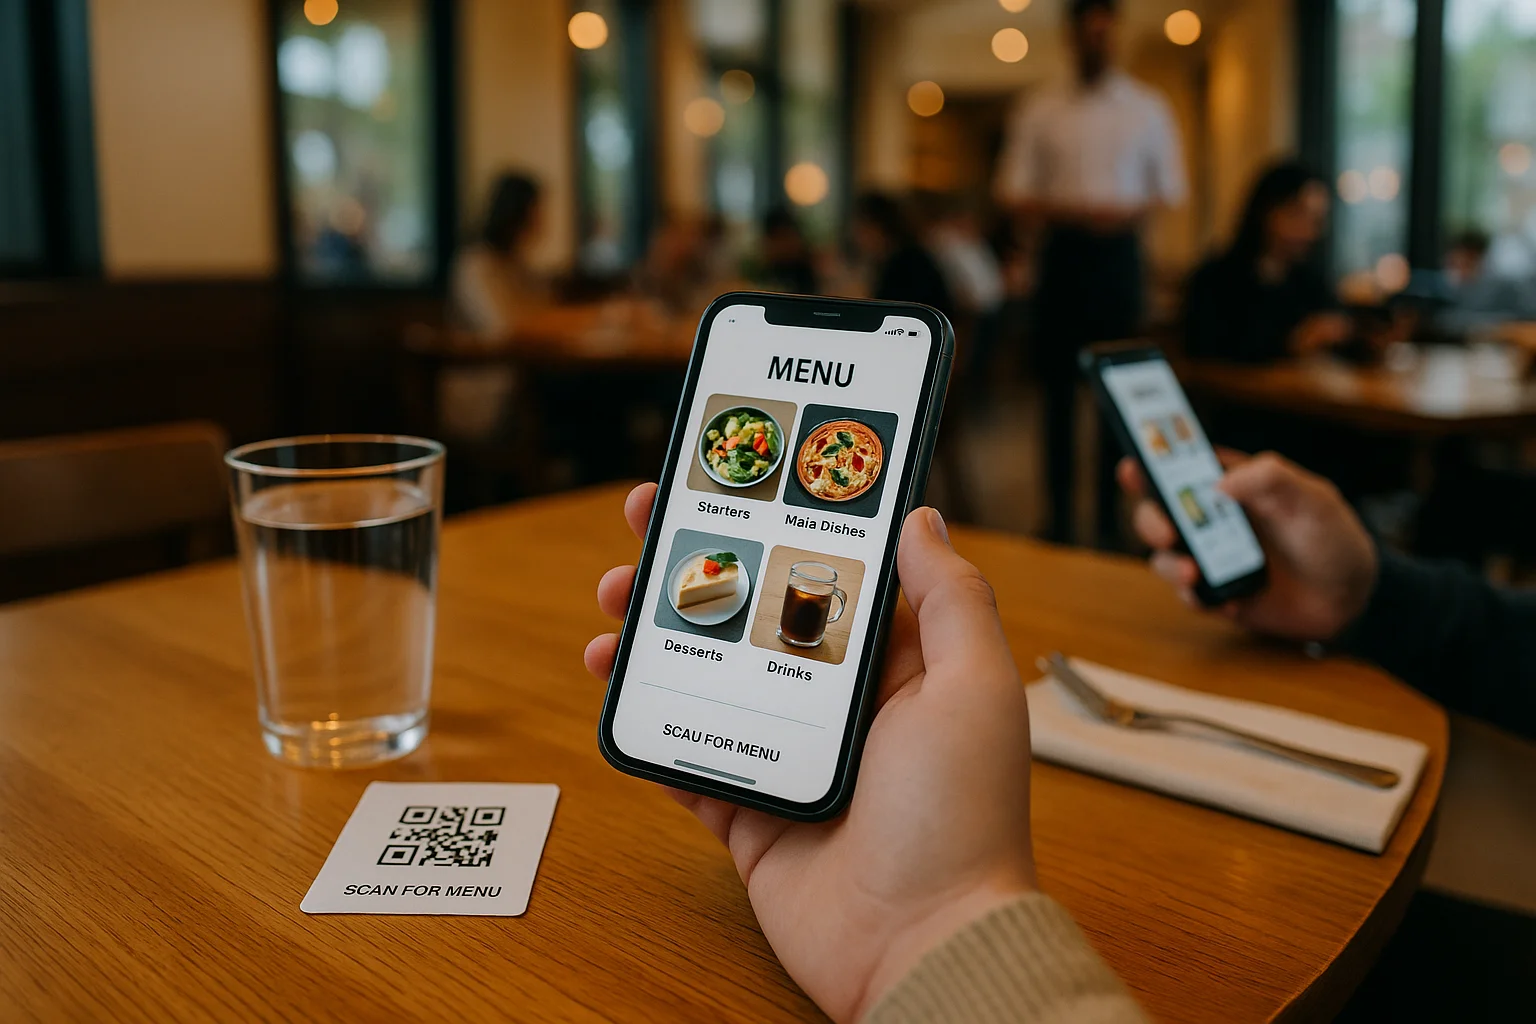
How to use the QR menu at the table in a restaurant
Using a QR menu at the table has become one of the smartest decisions a restaurant can make in 2025. Customers scan a QR code with their phone, instantly access the digital menu, see appetizing photos, updated prices and allergen information — without waiting for a waiter and without touching a worn menu card. In this complete guide you will learn exactly how to set up and use a QR menu directly at your customers' tables, step by step, using the Menivo platform.
Why the QR menu at the table matters
A QR menu at the table is not just a modern presentation solution — it's a tool that saves you time, reduces printing costs and improves the customer experience. Updating prices or adding a new dish? The change appears instantly in the menu, without reprinting anything. Customers see exactly what they're ordering, with photos, ingredients and nutritional values, which reduces questions asked to staff and increases overall satisfaction.
If you're curious how this type of menu influences customer behavior, we recommend our detailed article about how the digital menu influences consumer behavior in restaurants.
What you need
- An active account on menivo.io (registration is free)
- Information about your restaurant: name, address, hours, logo
- List of dishes with prices, photos and descriptions
- A printer or access to a printing service for the QR code
- Table stands, stickers or frames for displaying the QR code
- A smartphone to test the QR code before launch
Step 1: Create your account on Menivo
The first step to setting up a QR menu at the table is to create an account on the Menivo platform. The process takes less than two minutes.
- Go to menivo.io and press the registration button.
- Fill in your email address and set a secure password.
- Confirm your email address via the link received in your inbox.
- Log in to your newly created account and you're ready to start.
For a detailed tutorial on creating an account, check our guide: how to create an account and register on the digital menu platform.
Step 2: Add your restaurant to the platform
After logging in, the first action is to set up your restaurant profile. This information will appear to customers when they access the menu via the QR code.
- From the control panel, select the "Add restaurant" option.
- Fill in the required fields: restaurant name, address and operating hours.
- Upload the restaurant's logo (image file — Menivo will automatically resize and convert it to WebP format for optimal loading speed).
- Optionally, add an attractive description of the venue and a cover photo.
- Save the changes.
If you want to customize the restaurant settings in detail, follow the instructions in the restaurant settings configuration guide.
Step 3: Create the menu categories
A well-structured menu helps customers quickly find what they're looking for. In Menivo, the menu is organized into categories — for example: Appetizers, Soups, Main Courses, Desserts, Drinks.
- From your restaurant section, go to "Menu" and click "Add category".
- Enter the category name in Romanian (required) and, optionally, in English for international customers.
- You can also set the associated department: kitchen, bar, or both — useful if you use the KDS system.
- Repeat the process for each category in the menu.
- Reorder the categories via drag-and-drop according to your menu's logic.
Learn more about organizing categories in the complete guide to creating menu categories.
Step 4: Add products with all details
This is the most important step for an attractive and functional QR menu. Each product must be filled in with clear and accurate information.
- Select the category where you want to add the product and click "Add product".
- Fill in the dish name in Romanian and, optionally, in English.
- Add an appetizing description and the list of ingredients.
- Set the price and weight of the product.
- Upload a quality photo — images significantly increase the order rate.
- Check the appropriate allergens from the predefined list (mandatory by law in Romania).
- Fill in the nutritional values if you want to offer customers complete information.
- Save the product and repeat for each dish on the menu.
Allergens and nutritional values — why they are essential
Romanian legislation requires restaurants to display allergen information. Menivo provides you with a complete allergen management system and an integrated nutritional values calculator, which helps you comply with legal obligations and offer transparency to customers. For more details, read our guide about food allergens and legal obligations in Romania.
Step 5: Generate the QR code for the QR menu at the table
Once the menu is complete, it's time to generate the QR code that you will place at your customers' tables.
- From the restaurant panel, go to the "QR Code" section.
- Menivo automatically generates a unique QR code, associated with your restaurant.
- Preview the code and test it by scanning it with your phone — verify that the menu opens correctly.
- Download the QR code in high-resolution format (recommended for printing).
Step 6: Display the QR code at the restaurant tables
The last step is physically placing the QR code in the restaurant, so that customers can easily scan it.
- Tent cards — small three-dimensional stands placed on the table, visible from any angle.
- Self-adhesive stickers — applied directly to the table or the countertop surface.
- Photo frames — for a more elegant look, suitable for fine dining restaurants.
- Entrance posters — for customers who want to see the menu before sitting down.
- Window stickers — useful for attracting customers from outside.
Make sure the QR code size is large enough to be scanned from a normal distance (minimum 3×3 cm for tent cards, larger for posters).
How customers scan the QR menu at the table
The customer experience is simple and intuitive:
- The customer opens their phone's camera or a QR scanning app.
- They point the camera at the QR code on the table.
- The phone automatically detects the code and displays a link — the customer taps on it.
- The digital menu opens instantly in the browser, without needing to download any app.
- The customer navigates through categories, sees photos, prices, allergens and nutritional values.
Useful tips
- Test the QR code before launch — scan it with multiple phones (Android and iPhone) to check compatibility.
- Update the menu regularly — prices and product availability must always be up to date; with Menivo, changes are instant.
- Add quality photos — dishes with attractive images generate more orders.
- Fill in allergens for each product — it is legally mandatory and builds customer trust.
- Offer the menu in English as well — Menivo supports RO/EN bilingualism, essential if you have international customers.
- Place the QR code at the right height — it must be visible and easy to scan from the chair.
- Replace damaged stickers or tent cards — a damaged or dirty QR code cannot be scanned correctly.
Conclusion
Implementing a QR menu at the table with Menivo is a simple process that can be completed in a few hours. From creating the account and setting up the restaurant, to adding products with allergens and nutritional values, generating the QR code and displaying it at the tables — each step is intuitive and accessible to anyone, without advanced technical knowledge.
The result? More satisfied customers, more efficient staff, eliminated printing costs and an always up-to-date menu, available 24/7 directly on the phone of every customer who sits down at your table.
If you want to explore the topic further, we also recommend reading our article about QR menu vs traditional paper menu and discover the top 10 reasons why it's worth implementing a digital menu. Are you ready to take the step? Register for free on menivo.io and create your first QR menu today.