
Creating a restaurant menu in Menivo – step by step guide
Creating a restaurant menu in Menivo: step-by-step guide, from account to online orders
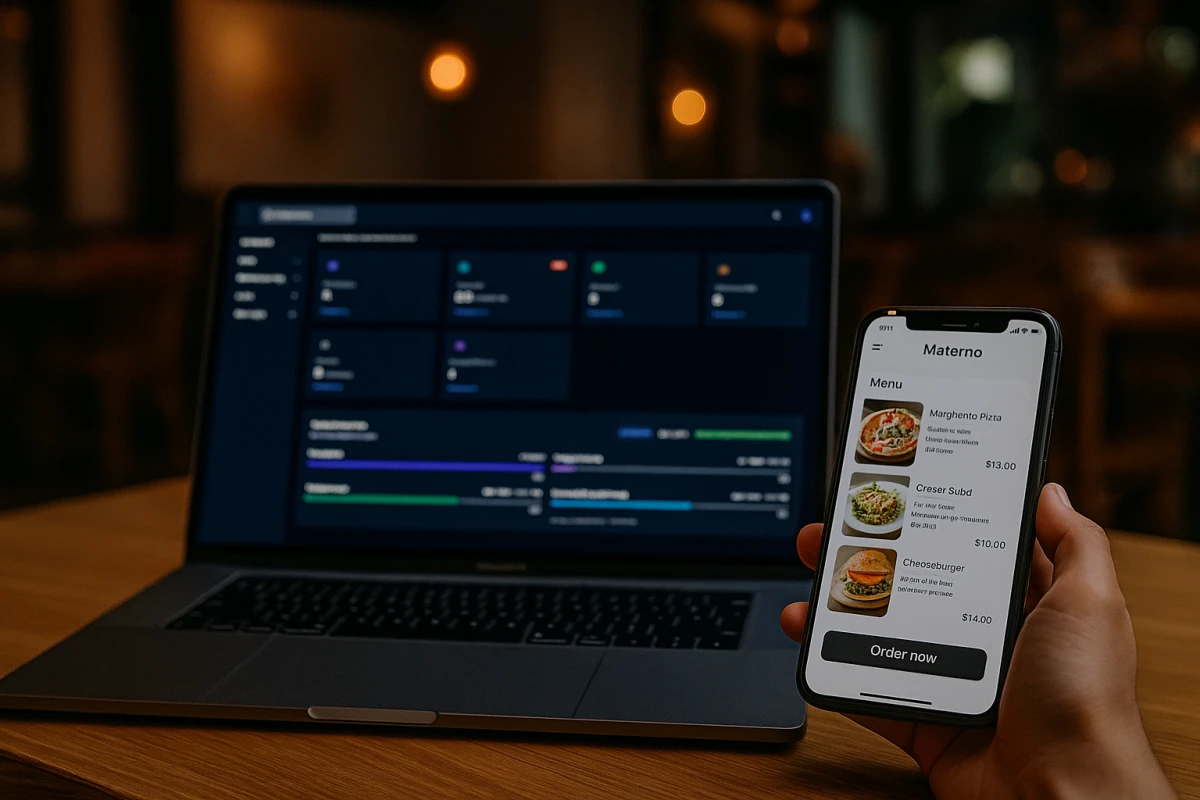
If you want a modern menu, easy to update and ready for print, QR and online orders, Menivo puts the entire workflow in one place. In this guide we see exactly, step by step, how the process of Creating a restaurant menu works in Menivo – from account creation, to the first online orders.
1. Creating a Menivo account
The first step for Creating a restaurant menu is to create an account on the platform.
You go to the Menivo website and click on "Create account".
You enter your email, set a password and confirm.
After confirmation, you enter the Menivo dashboard, from where you will configure the restaurant and menu.
From this moment on, everything you do is saved in your account and can be modified anytime.
2. Adding the CUI and fiscal data of the restaurant
To have a "serious" menu and ready for orders and billing, the next step is to complete the fiscal data of the restaurant:
Company name
CUI / tax code
Complete address
Other information necessary for identification
This information will be used later in documents, in the presentation of the restaurant and, depending on the integration chosen, can form the basis of billing.
3. Creating a restaurant presentation
In Menivo, your restaurant has its own presentation page. Here you set the visual identity and contact information:
Restaurant name
Cover (cover image)
Logo
Address (useful for customers and for deliveries/pickup)
Description – short text about concept, cuisine, specifics
Operating hours
Website link (if you already have a website)
Social media links (Facebook, Instagram etc.)
Phone number (for reservations/information)
All of these appear in the interface visible to customers and provide context before they reach the menu.
4. Available languages: menu in Romanian and English
An important advantage at Menivo is that you can have the restaurant and menu in multiple languages, for example:
Romanian
English
For each important field (restaurant name, descriptions, category names and products) you can fill in separate versions in languages. This way, customers see the content in the selected language, without having to duplicate the entire menu in different PDFs.
5. Creating a menu category (example: "Breakfast")
Let's move to the practical part of Creating a restaurant menu: category structure.
In the Menivo dashboard:
You go to the Menu / Categories area.
You click on "Add category".
You fill in:
Category name (e.g.: "Breakfast") – in Romanian and English if you have a bilingual menu.
Optionally, a short description of the category.
You save the category.
In the end, you'll have a clearly structured menu: Breakfast, Lunch, Pizza, Pasta, Desserts, Drinks etc. – exactly how you want the customer to navigate.
6. Adding products to a category
Once you have the categories, you start adding the actual dishes.
You enter the desired category (e.g.: Breakfast).
You click "Add product".
You fill in:
Product name (RO + EN, if you use 2 languages).
Description – main ingredients, preparation style.
Price.
6.1. Allergens
For each product you can mark allergens (gluten, lactose, eggs etc.).
Advantages:
you comply with legislation;
the customer knows clearly what they can or cannot consume;
you don't have to explain every time at the table.
6.2. Product photos
At product level, you can upload photos:
Representative photograph of the dish;
Ideally with the same light and style, for a visually coherent menu.
Images appear in the menu (digital/online) and greatly increase the chances that product will be chosen.
6.3. Nutritional values
Menivo allows you to add nutritional values for each product:
Calories
Protein
Fat
Carbohydrates
Other relevant values
Depending on the plan chosen, you can even automatically calculate the nutritional values of the product, based on the ingredients and quantities entered.
This saves you manual calculations and gives you an added touch of professionalism (very useful for diet-conscious customers).
7. Menu verification and organization
After you've added the products:
You reorder the dishes within each category (e.g. bestsellers first).
You verify the translations (RO/EN) and descriptions.
You make sure all allergens and nutritional values are completed where needed.
At this point, the process of Creating a restaurant menu in Menivo is practically complete for the content part.
8. Creating a flyer with menu and QR code (included in the free plan)
One of Menivo's strong points is the Flyer creation feature with QR, available in all plans, including the free one.
8.1. Template selection
You go to the Flyer / Promotional materials section.
You choose a predefined template – designed specifically for restaurants.
You can customize:
Images (e.g. representative dishes or the interior of the establishment);
Colors (in line with your visual identity);
Font styling (titles, subtitles, small text).
8.2. Generating the QR code
In the flyer, you have a button for automatic QR code loading:
You click the button → Menivo automatically generates or inserts the QR code to your digital menu.
You don't need an external QR site, everything happens in the platform.
The customer scans the code and goes directly to the menu – whether for consultation or for orders (if you've enabled this feature).
8.3. PDF export for print
After you're satisfied with the design:
You click "Export PDF".
You get a PDF file optimized for print, ready to send to the printer or print on a printer.
This way you can have brochures, posters, inserts for the payment slip or signs at the entrance, without extra graphic design costs.
9. Enabling online orders (depending on plan)
Depending on the Menivo plan chosen, you can also enable the online orders part.
9.1. Restaurant settings for orders
In the restaurant settings:
You enable the "Online orders" option.
You check what you accept:
Delivery (delivery to address)
Pickup (collection from restaurant)
You can set intervals, schedule, minimum order conditions etc., depending on how you've designed your internal workflow.
9.2. How the customer sees it
When a customer enters your menu:
They can select the desired products, just like in an online store;
They choose the method (delivery/pickup);
They fill in their contact details and finalize the order.
9.3. Orders console for owner
You, as owner/manager, see everything in the Menivo orders console:
List of all new and ongoing orders;
Order details (products, quantities, customer details);
The ability to change status (e.g. "In preparation", "Ready for delivery", "Delivered").
Thus, Menivo becomes not just a system for Creating a restaurant menu, but also a mini-platform for order management.
10. Conclusion: from Creating a restaurant menu to a complete sales ecosystem
Through the steps above you have:
Account created and fiscal data set;
Complete restaurant presentation (brand, schedule, contact);
Menu structured by categories, with products, allergens, photos and nutritional values;
Versions in Romanian and English, without duplicated PDFs;
Customizable flyer with QR, with direct PDF export – included even in the free plan;
The option for online orders (delivery/pickup) and a clear orders console.
This entire workflow is designed to simplify your work: one single platform for Creating a restaurant menu, marketing (flyer + QR) and online orders.